In this blog, we’ll explore what Bricks templates are and why they’re an essential part of building scalable WordPress websites. Templates can be used for blog posts, products, archive pages, reusable content blocks and much more. Using them can help you save time, improve consistency, and future-proof your site, so let’s learn about them.
By the end of this guide, you’ll have a clear understanding of how to use Bricks templates effectively, especially single-post templates.
What are Bricks templates?
Templates in Bricks Builder are layout structures that allow you to control the design and output of various content types across your WordPress site. This can apply to a wide range of content types, including blog posts, portfolio items, custom post types, product or blog cards, headers, footers, and more.
One of the most common use cases is creating single-post templates. These templates allow you to control how a ‘single’ post is displayed dynamically, using elements like post titles, featured images, author data, and content pulled in via dynamic data bindings.
There are two main ways to create templates in Bricks:
- Via the Templates Panel in the WordPress dashboard under Bricks > Templates, where you can create a new template and assign it to specific conditions (e.g., all posts, a specific post type, a category, etc.).
- By saving parts of a page as a template, for example, if you’ve already designed a section on a page (such as a hero banner, contact form, or card layout) and want to reuse it, you can right-click the section or element and select “Save as template.” This saves that block to your template library, allowing you to insert it anywhere using the template element in Bricks.
What types of post templates are there?
Bricks Builder offers a wide range of template types, giving you the flexibility to design your site in a modular way. The term “single” post template technically refers to templates used for individual posts, but Bricks also allows you to create and manage other types of reusable templates, such as headers, footers, sections, and cards — which can work together to build scalable layouts.
Headers and footers
To create your header and footer, you will set the “type” of template as either header or footer, and it will automatically place itself on all pages on your site. You can have multiple header and footer templates built into Bricks and assign them to unique pages as you see fit, but typically, you will only have one of these active at a time to keep consistency and avoid any potential negative SEO implications.
Sections
Sections can be used for more than one whole section. It can also refer to a group of modules in a layout that you might want to appear on multiple pages. Saving this as a template rather than having to hand-build them every time can save you a lot of time both during development and in making future updates. However, you do not have to limit yourself to smaller things if you don’t want to. If you want to have a query loop appear on multiple pages/templates, then you can use it for this, and it will save the query loop with the template.
Cards
Despite falling into the ‘section’ category, cards are also worth a separate mention. When I use the term ‘card’, I’m referring to either product cards or blog cards (or similar). A card is basically what you see for an individual item on a website (for example, each blog on the Marketing Labs blog page).
Archive pages
Archive pages are what you see when you go to a set collection on a website. On the Marketing Labs website, you can see uses of this on the blog page, podcast page and many more. These pages also apply when you go to categories or tags, which would show specific products or posts under a set category or tag.
What are the benefits of using post templates?
There are many benefits to using single post templates when building blogs or anything else mentioned above. One of the main reasons is consistency. One thing that a user doesn’t want to see is multiple layout changes for the same thing (such as unique layouts for each blog). This is because it can become confusing to know where to look for information. Another reason with equal importance is future-proofing; if you want to change something on your page or a card, you can simply change one template rather than having to go through each of them individually, which can be time-consuming and labour-intensive.
How to use single post templates
Single post templates are really easy to use on Bricks. If you go into your elements tab and search for “template”, you can add any of the templates that you have already built. This is useful for product query loops and blog query loops, where you might want to repeat a card design you created earlier.
For full-page templates, you don’t need to use the “template” element. Instead, you can assign display conditions, such as showing only on blog archives or single posts. With dynamic data in place, the template automatically populates content based on the specific post or page being viewed.
What should you include in a single post template?
Single blog templates
A well-designed single blog post template is essential for SEO performance. At a minimum, your blog template should include:
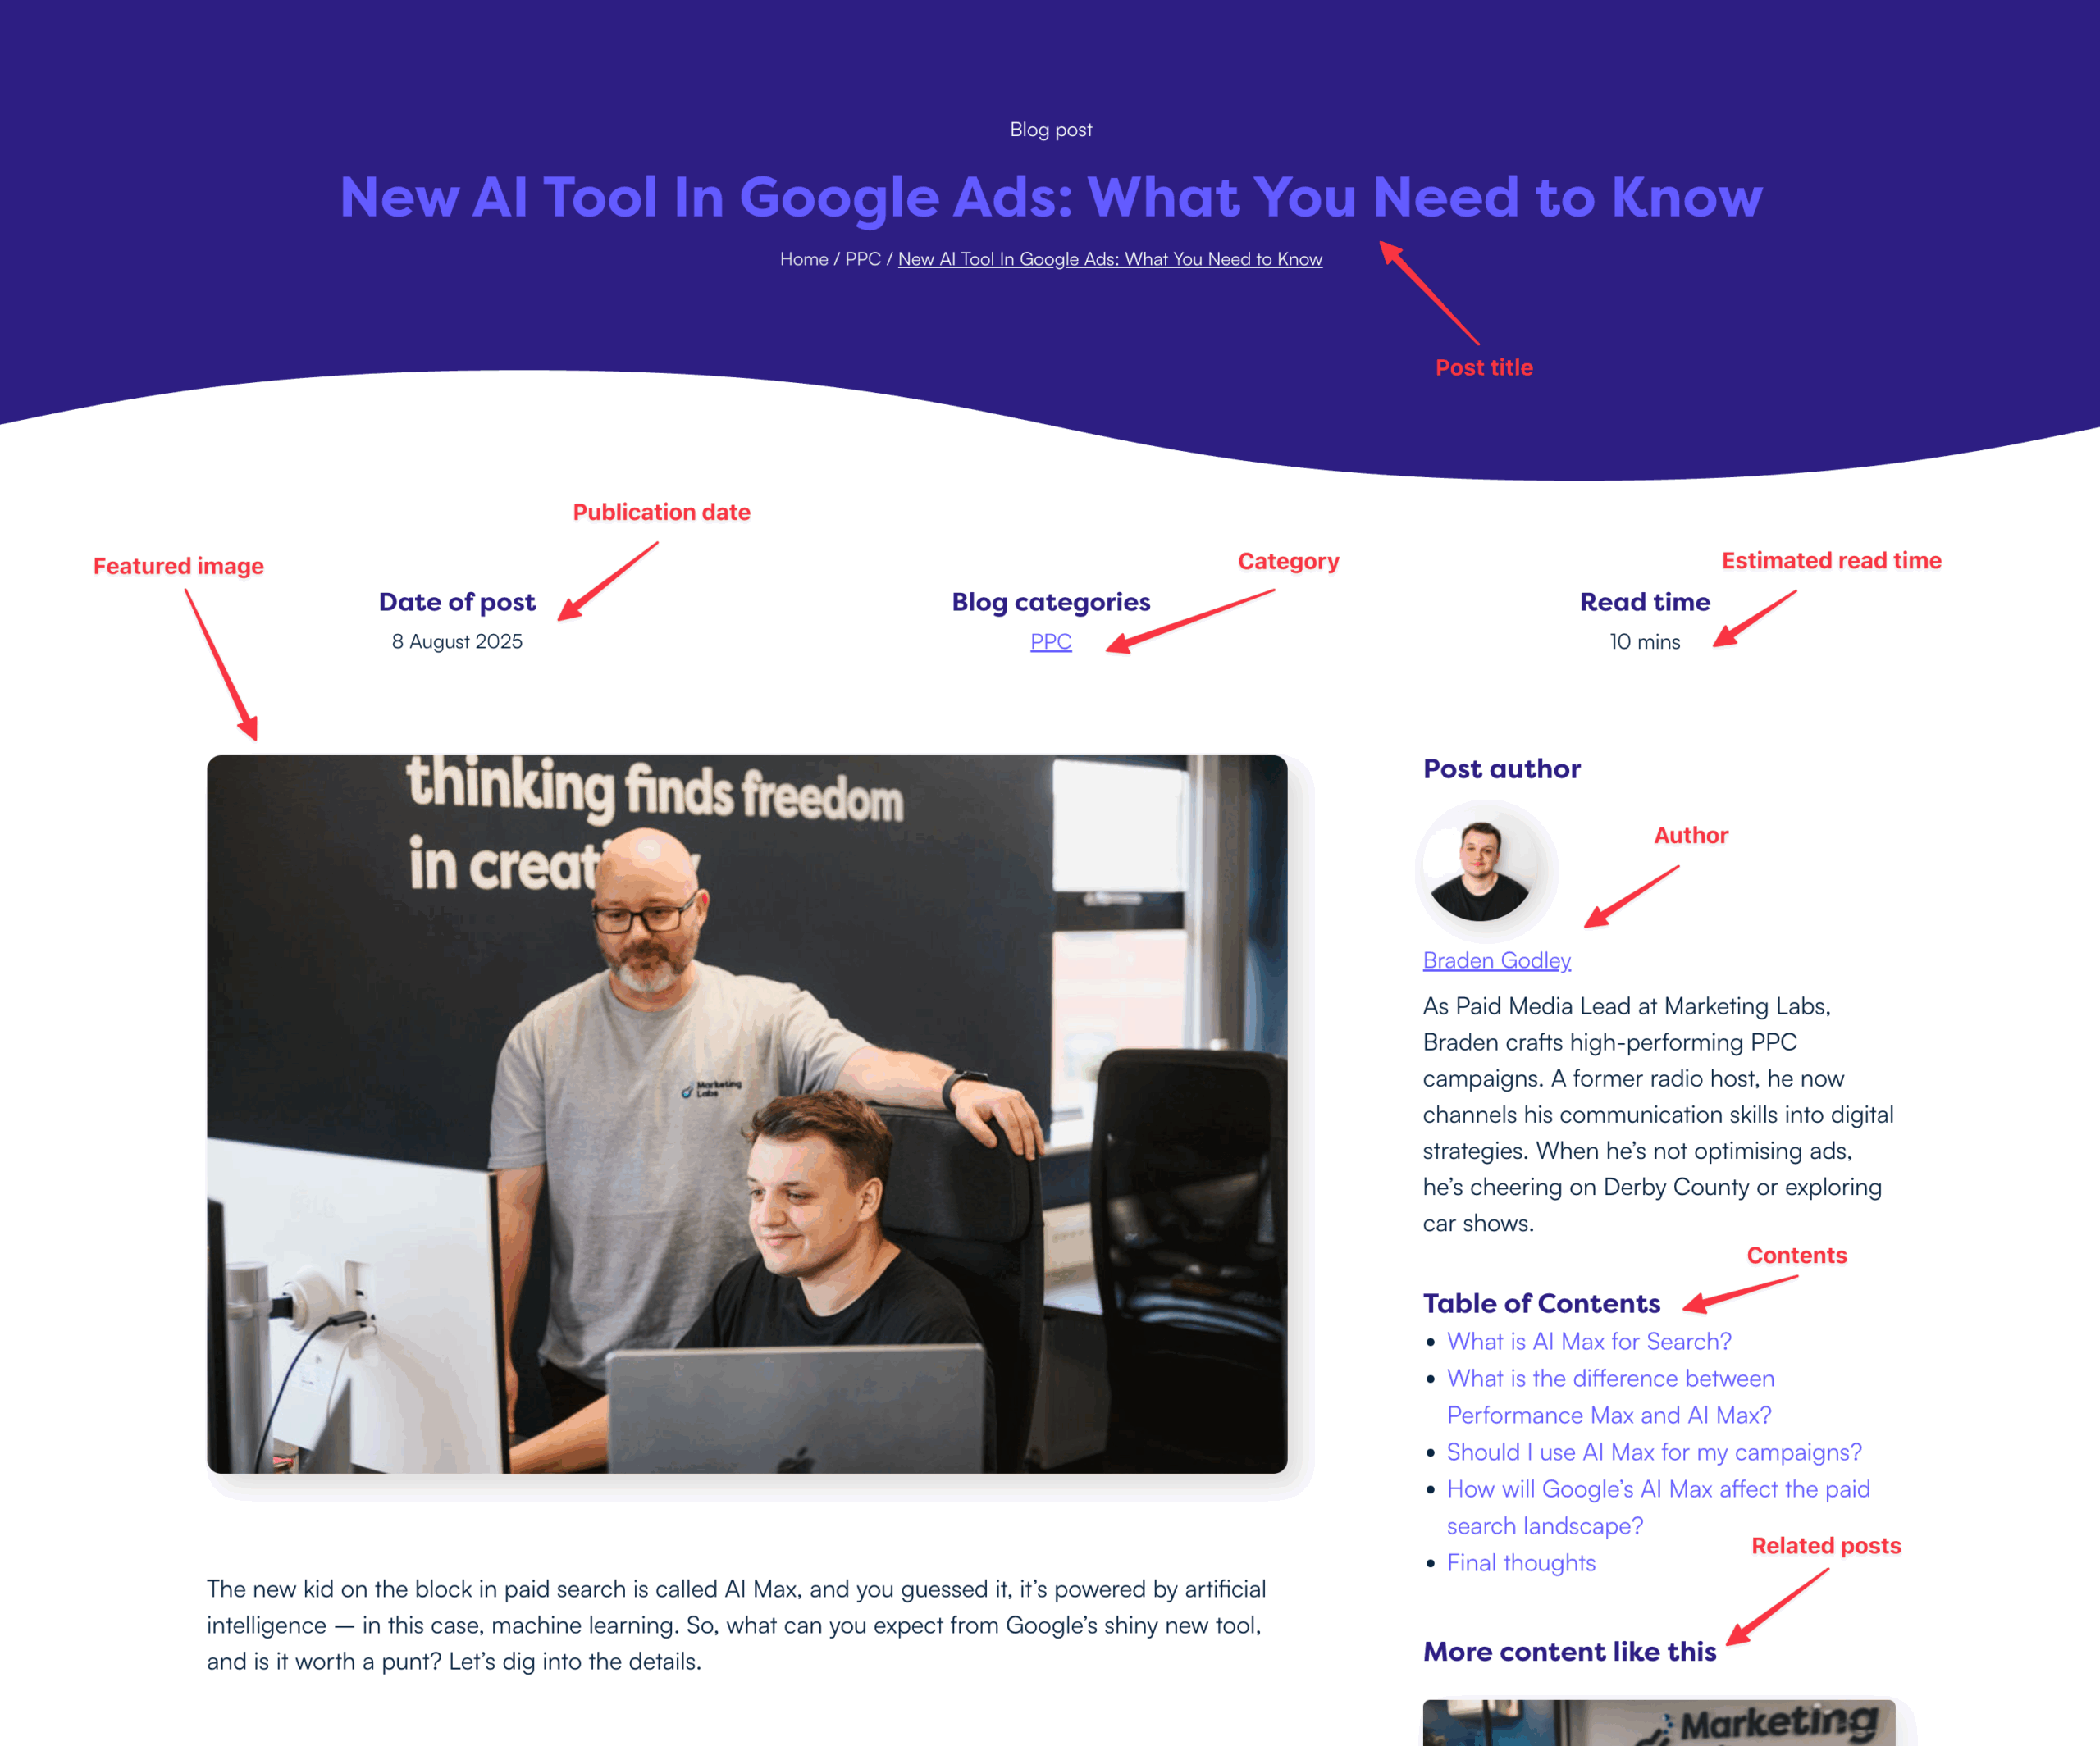
- Post Title: Displayed as the page’s main heading (typically an <h1>)
- Featured Image: A high-quality image at the top of the post to draw attention and improve shareability.
- Post Meta Information: Details such as the author name, publication date, and post category or tags.
- Post Content
You might also want to include these highly recommended blocks to improve internal linking and architecture on your site dramatically:
- Related posts
- Recent posts
- Post categories
- Post tags
- Breadcrumb navigation for better UX (user experience)
You might also want to include optional blocks like:
- Table of contents
- Estimated read time

Single product templates
A well-structured single product template is essential for improving conversions. At a minimum, your product template should include:
- Product Title: Displayed prominently as the page’s main heading (usually an <h1>).
- Product Gallery
- Short Description: A brief overview highlighting key features near the top of the page.
- Long Description: A longer section that answers common customer questions like what the product is, how it works, who it’s for, and why it’s unique.
- Product Attributes: A clear list of key features (size, material, colour, etc.)
- Pricing: Display the price clearly.
- Add to Cart / Call-to-Action Button: Well-placed and visually distinct for user interaction.
- Reviews or Ratings: User-generated content helps build trust and influence purchasing decisions.
You might also want to include optional blocks like:
- Related products
- Shipping & return info
- Trust signals (e.g. badges, guarantees, secure checkout)
Keep reading: How to write the perfect product description
Overall takeaways for Bricks templates
Templates are very simple to set up, and without using them, you’re missing out on so much. Using them allows for consistency, an easier web-building experience and future-proofing your website on the whole. There are so many other ways to improve your web-building experience, from graphic design to other building techniques.
Need help with web development? Our design and development specialists are on hand. Get in touch with us today.


